
Last reviewed
Step 1: Decide how you'll use the deck
Start with activities, not dimensions. Dining, lounging, grilling, a hot tub or kids' play each need different space, placement and sometimes extra structural support.
- Dining: plan room for a table with chairs pulled out and a walkway around it.
- Lounging: deep seating and chaise lounges take more space than people expect.
- Grilling: keep the grill clear of siding, windows and railings and away from main traffic paths; follow the grill manufacturer's clearance guidance.
- Hot tubs: concentrated weight requires specific structural design — plan it from the start.
Step 2: Size and layout
Mark the outline on the ground with stakes and string or chalk, then set out your actual furniture. Walk the traffic path from the door to the stairs. It's far cheaper to change a layout now than after footings are poured.
Consider zones: a dining zone near the kitchen door and a lounge zone further out, for example, sometimes separated by a change in level or a built-in bench.
Step 3: Sun, shade, privacy and views
- Note when the area gets direct sun — afternoon sun affects comfort and surface temperature.
- Check sightlines to neighbors; plan privacy screens or plantings if needed.
- Keep views from inside the house in mind — railings and stairs change what you see from windows.
- Identify drainage paths, downspouts and low spots near the deck.
Step 4: Height, stairs and railings
Deck height is set by the door threshold and the slope of the yard. It determines whether guards are required, how many stairs you need and how much of the framing will be visible.
Plan stairs early: where they land, how wide they are and whether a landing is needed. On elevated decks, the underside becomes part of the yard — consider skirting, storage or a finished under-deck area.
Step 5: Choose materials
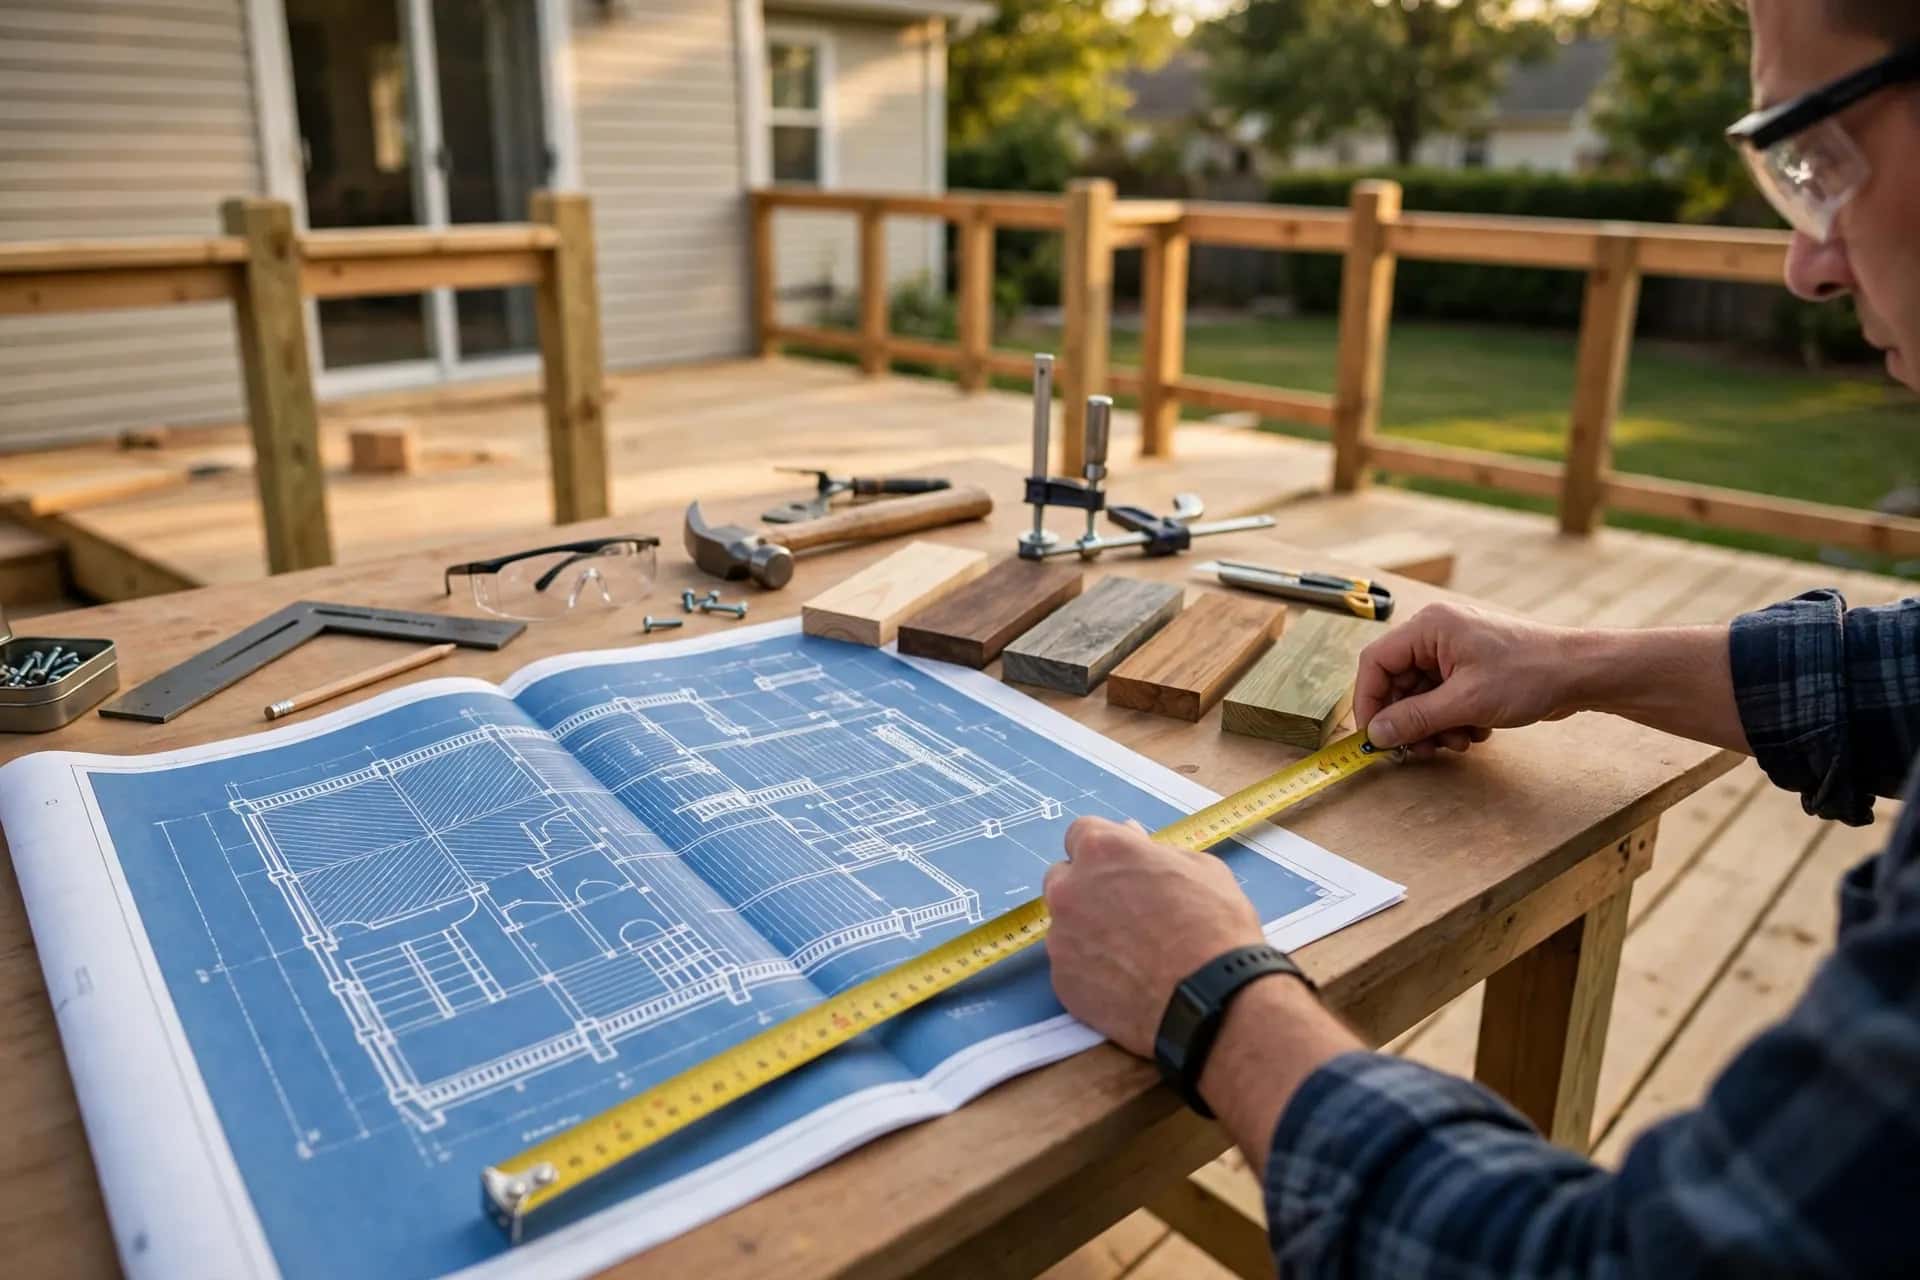
Select the decking, railing system and fasteners together, because they affect joist spacing and post layout. Order samples and look at them in your own light. Our material guides compare composite, PVC, pressure-treated wood and cedar.
Step 6: Permits, HOA approval and utilities
Check with your local building department about permits and inspections, with your HOA about design approval, and call 811 before digging footings.
- Building permit and any required drawings or site plan.
- Setbacks from property lines and easements.
- HOA architectural review, if applicable.
- Utility locates through 811 before excavation.
Pre-construction checklist
- 1Confirm your ZIP code is in our service area.
- 2Agree on a written scope: size, height, materials, railings, stairs and add-ons.
- 3Confirm who handles permits, drawings and inspections.
- 4Plan site access for materials and equipment.
- 5Move furniture, grills and planters from the work area.
- 6Discuss how unexpected conditions (like hidden rot on the house wall) are handled.
What are the most common deck planning mistakes?
- Building too small for the furniture you actually own.
- Placing stairs where they block the yard or a view.
- Ignoring afternoon sun on dark boards.
- Forgetting grill clearance and traffic paths.
- Overlooking drainage from downspouts near footings.
- Skipping permit research until the last minute.
How should you set a deck budget?
Start with must-haves — size, height, stairs and safe railings — and price materials in tiers. Leave a contingency for hidden conditions, especially when an old deck is coming off. Our cost-factor guide explains what moves the number.